How to Download and Install Unity on Windows
Published on Apr 06, 2022 by Arun Michael Dsouza
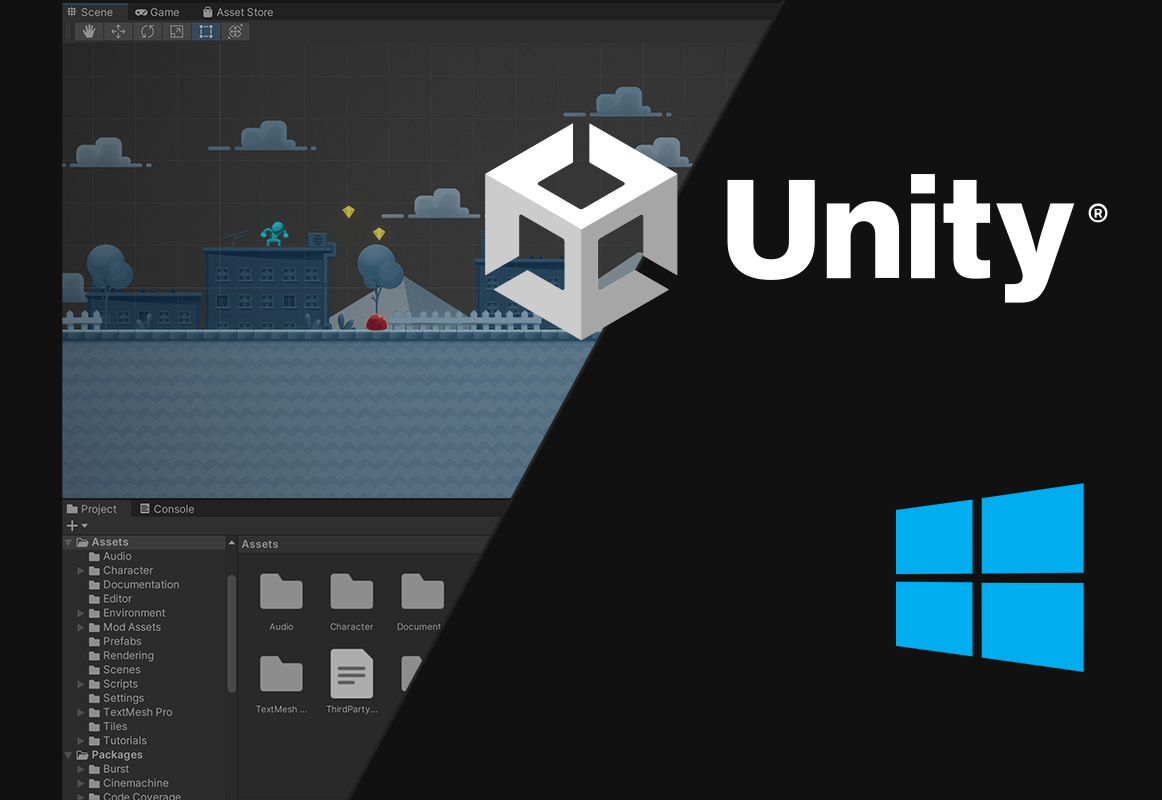
Unity is a real-time 3D development platform that is used to create interactive experiences and immersive content across various industries - Gaming (2D/3D), AR/VR, Transportation, Manufacturing, Architecture, Film etc.
It was first released at the Apple Worldwide Developers Conference in 2005 as a Mac-only game engine, since then it has evolved into a powerful creative platform.
It’s a really powerful tool for designers and developers who want to get started with real-time graphics development, with an active community and loads of resources available for learning.
In this blog post, we’ll be looking at how we can download and install Unity on Windows. The steps for other operating systems have been covered in separate blog posts that you can check out below -
Downloading and Installing Unity Hub
First and foremost, we need to download Unity Hub.
Unity Hub allows you to download and install the Unity Editor, which is the tool that lets you develop graphics applications. The hub also allows you to manage and run the applications that you create with the Unity Editor.
Unity Hub supports Windows 7 SP1+, 8 and 10 (64-bit versions only). Make sure that your operating system matches the minimum supported version, then go to the Download Unity page and download Unity Hub for Windows.
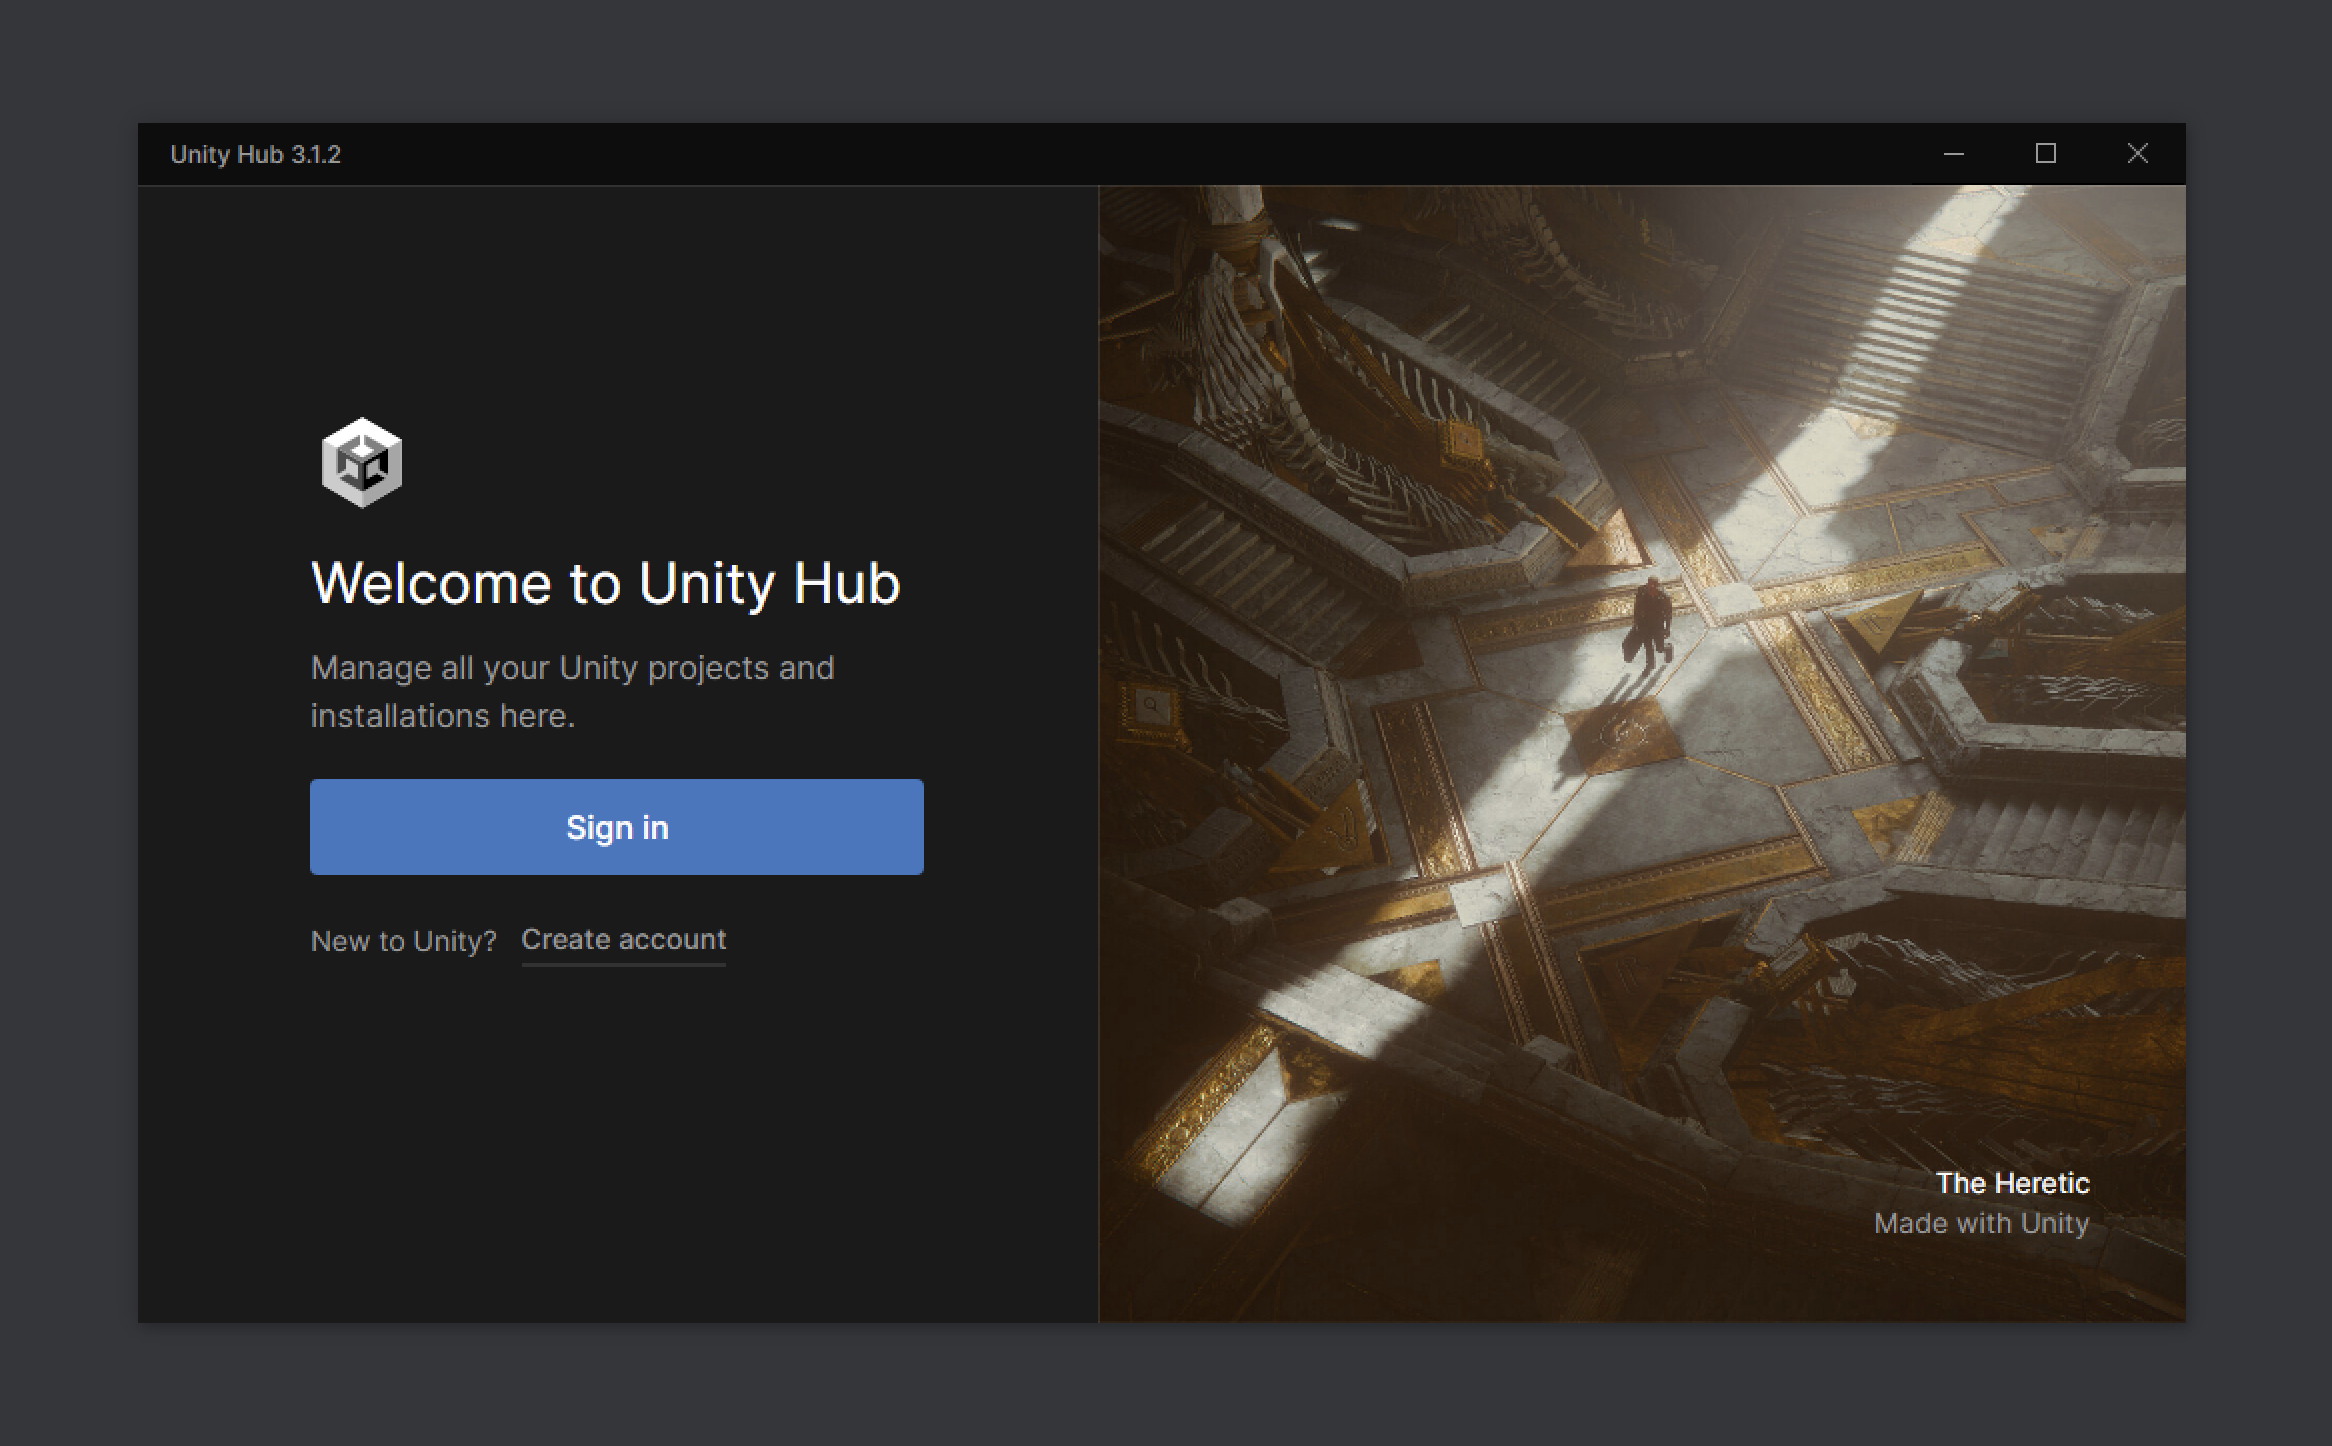
Open the downloaded file and install Unity Hub.
Note: If you’re looking for a specific version of Unity or you want to download Unity for a different platform, you can find it in the Unity download archive.
Once installed, open Unity Hub. You’ll see a welcome window that will ask you to either sign in using your Unity ID or create a new one. If you don’t have a Unity ID, you can create one here. Unity ID is your user account associated with Unity.
If you want to learn more about Unity Hub, you can read about it here.
Downloading and Installing the Unity Editor
Once you sign in with your Unity ID, the next step would be to install the Unity Editor. A new window will open with the recommended release of the editor pre-selected.
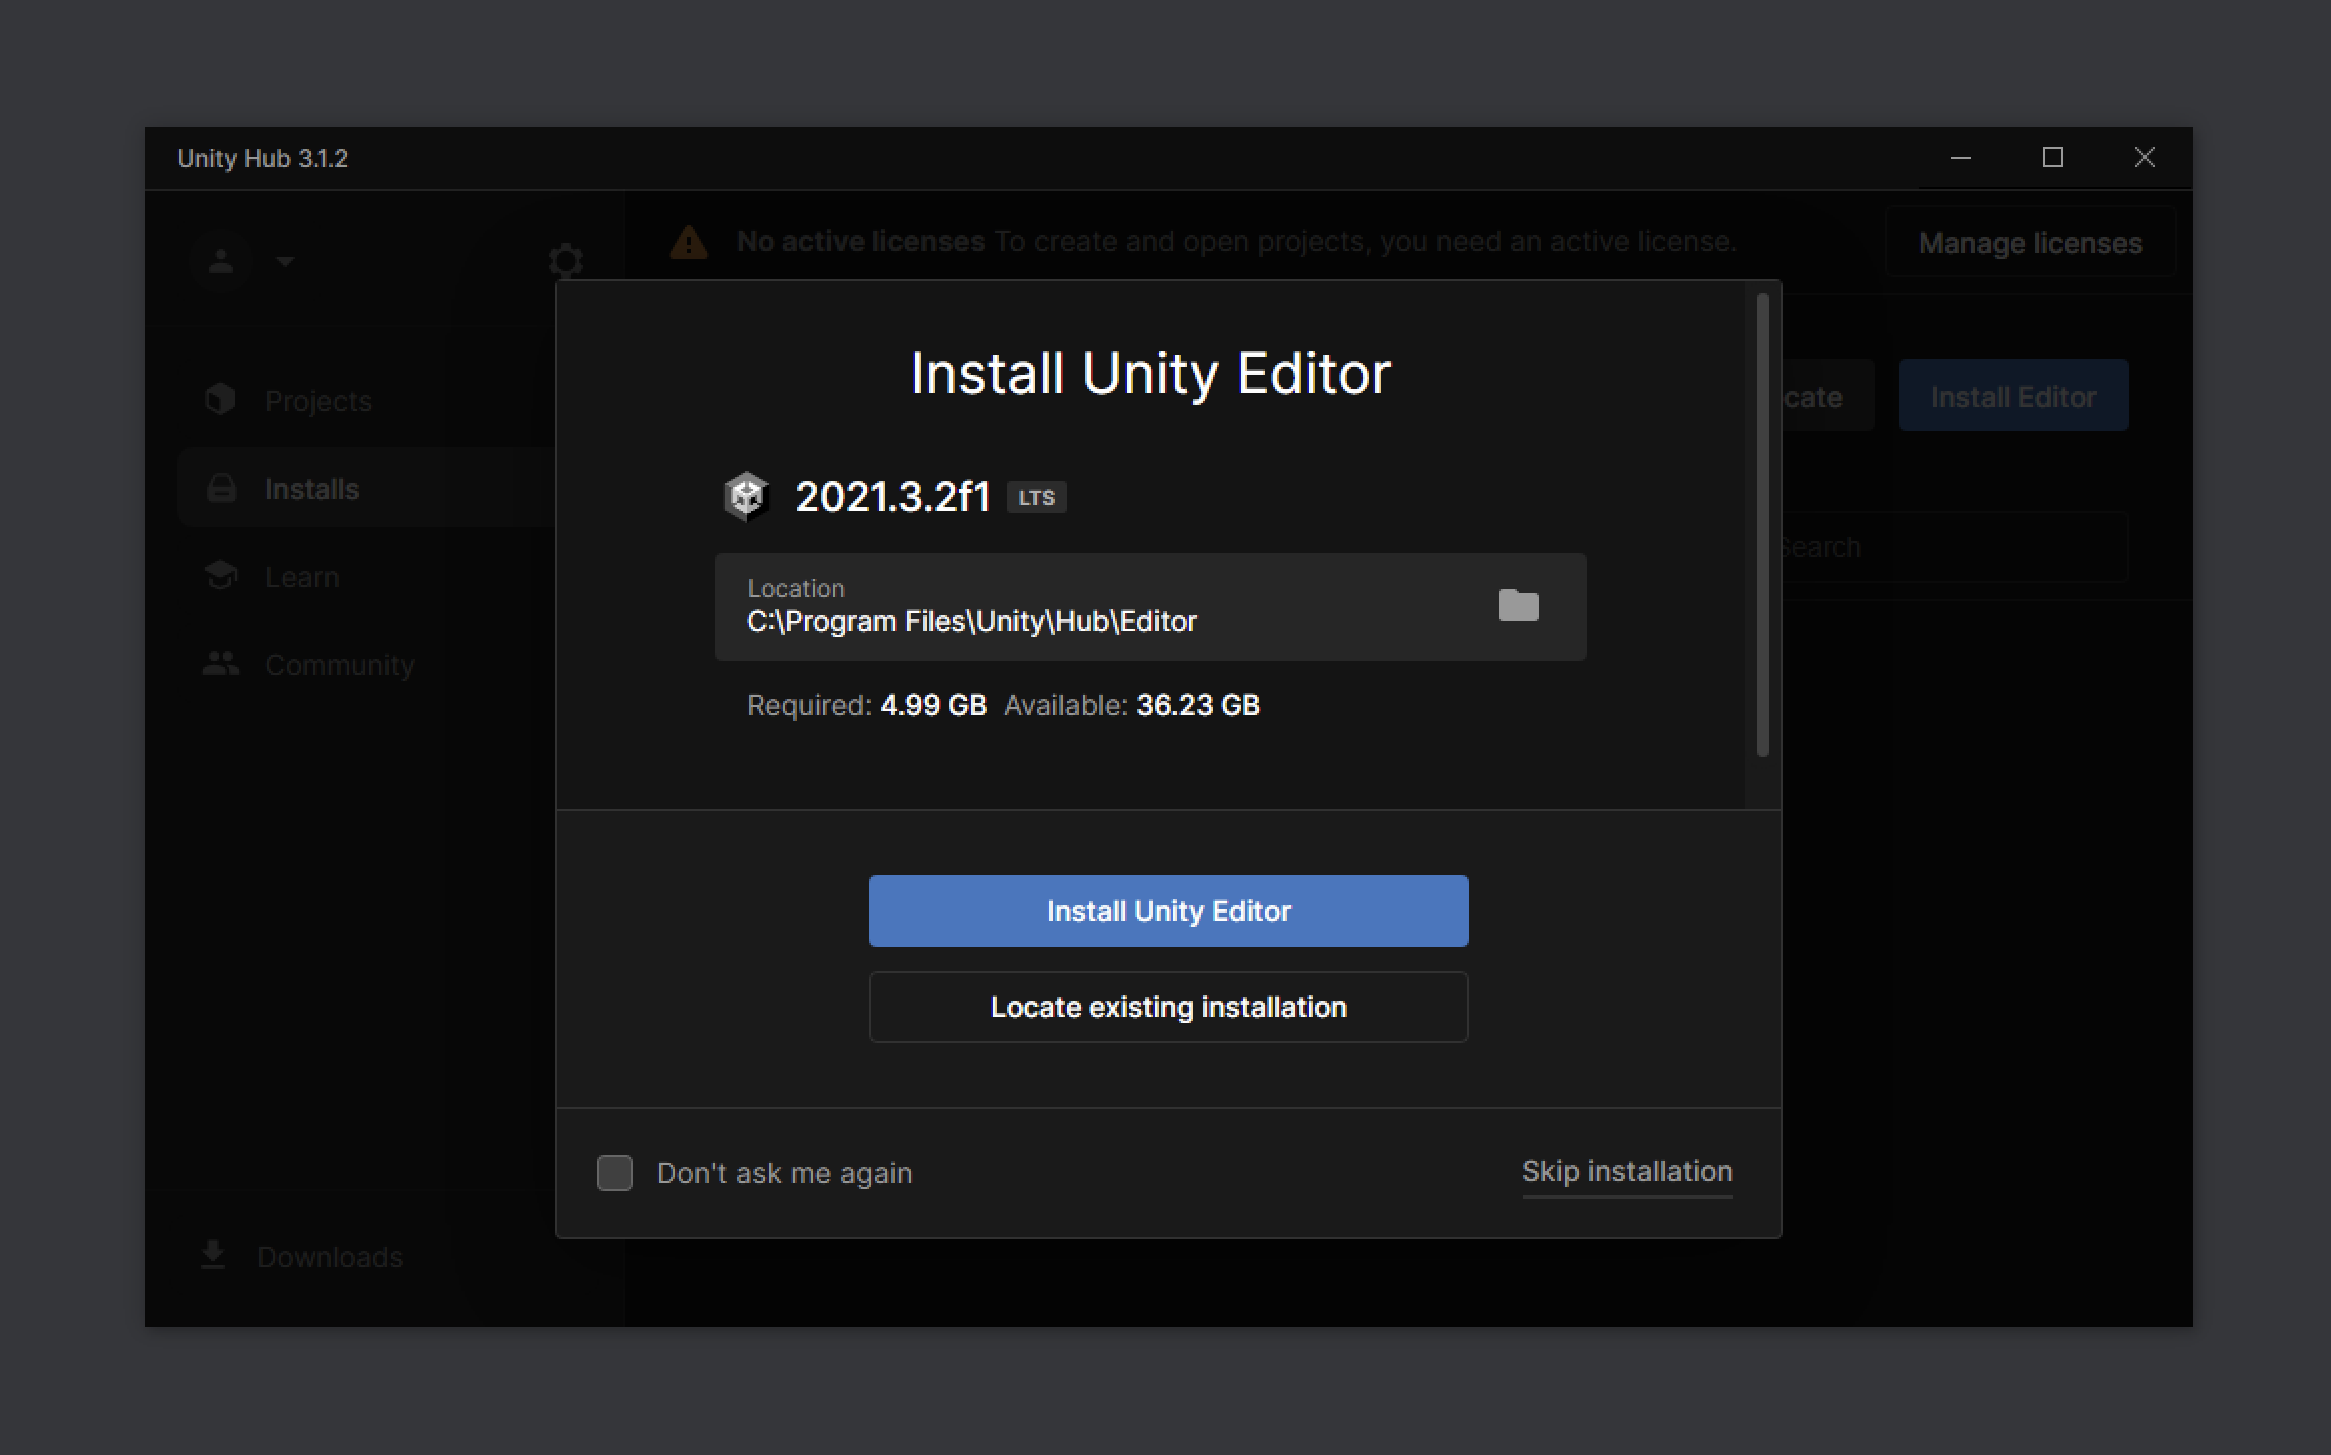
In this window, you can also change the install path of the editor or locate an existing installation if you have one already.
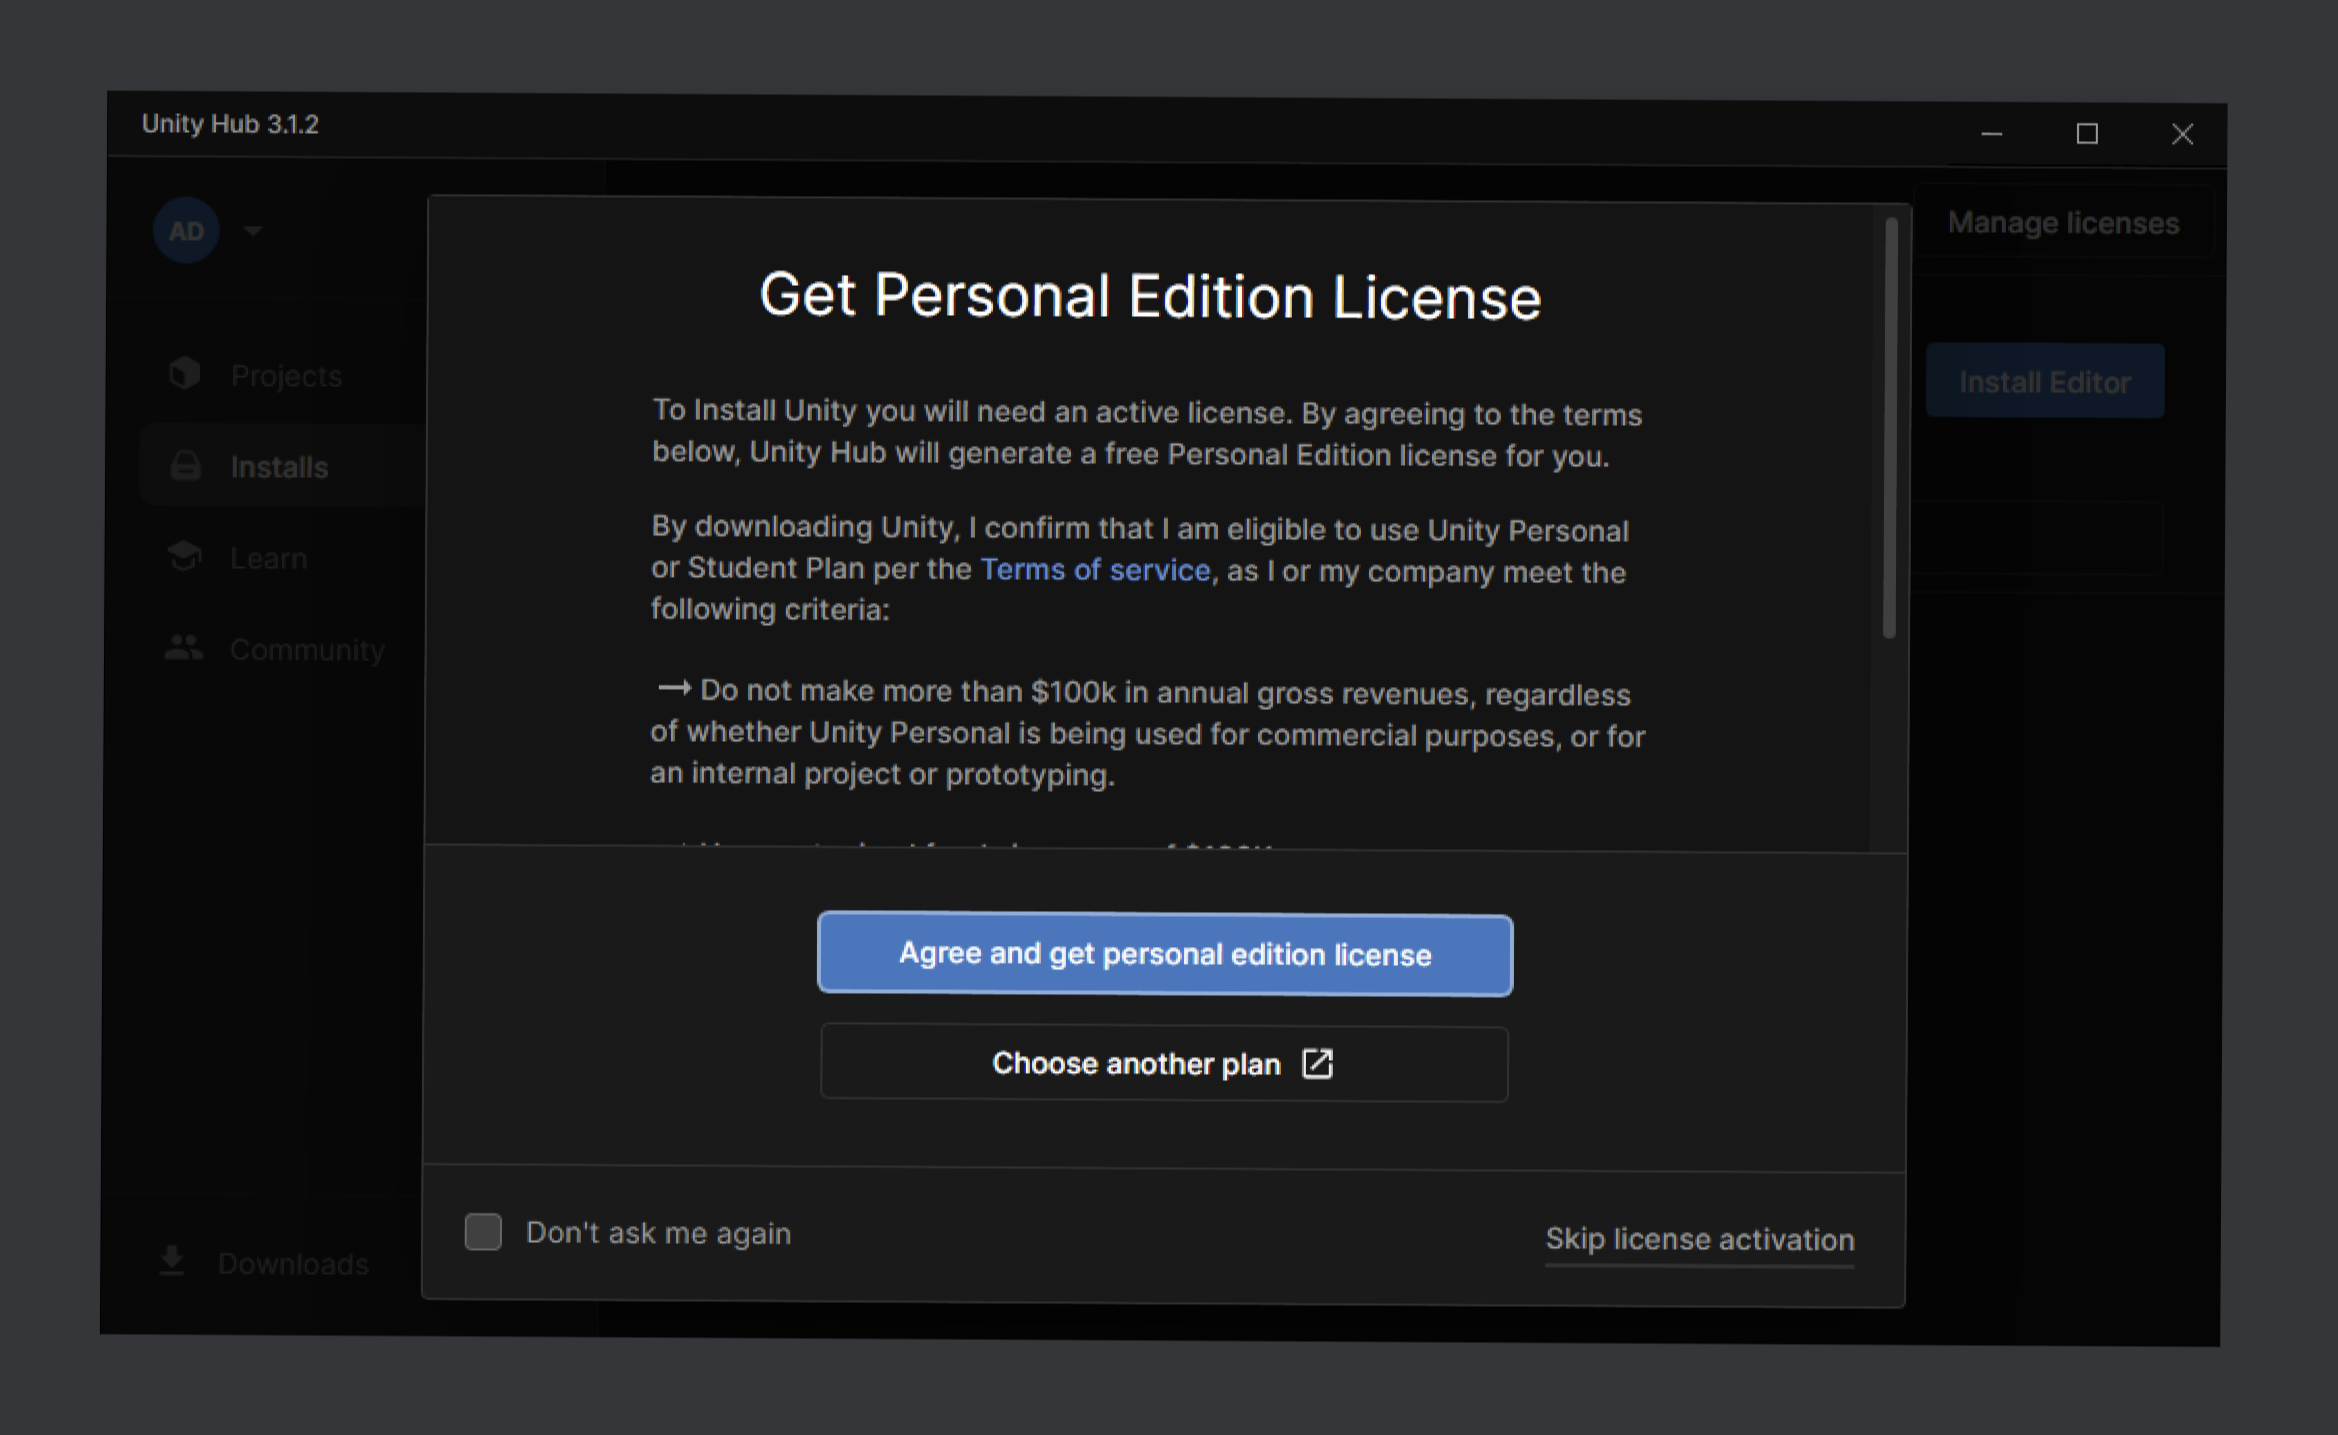
If you want to install a specific release of the editor, you can click on Skip installation. At this point, you will see another window asking you to get a Personal Edition License for Unity.
I would recommend getting a license at this point if don’t have one already. If you want to do this later you can click on Skip license activation to skip this step as well.
Note: License activation is a step that is required to use the editor and has been covered here.
Once you skip the steps, you can click on Install Editor to select and install a specific release of the editor.
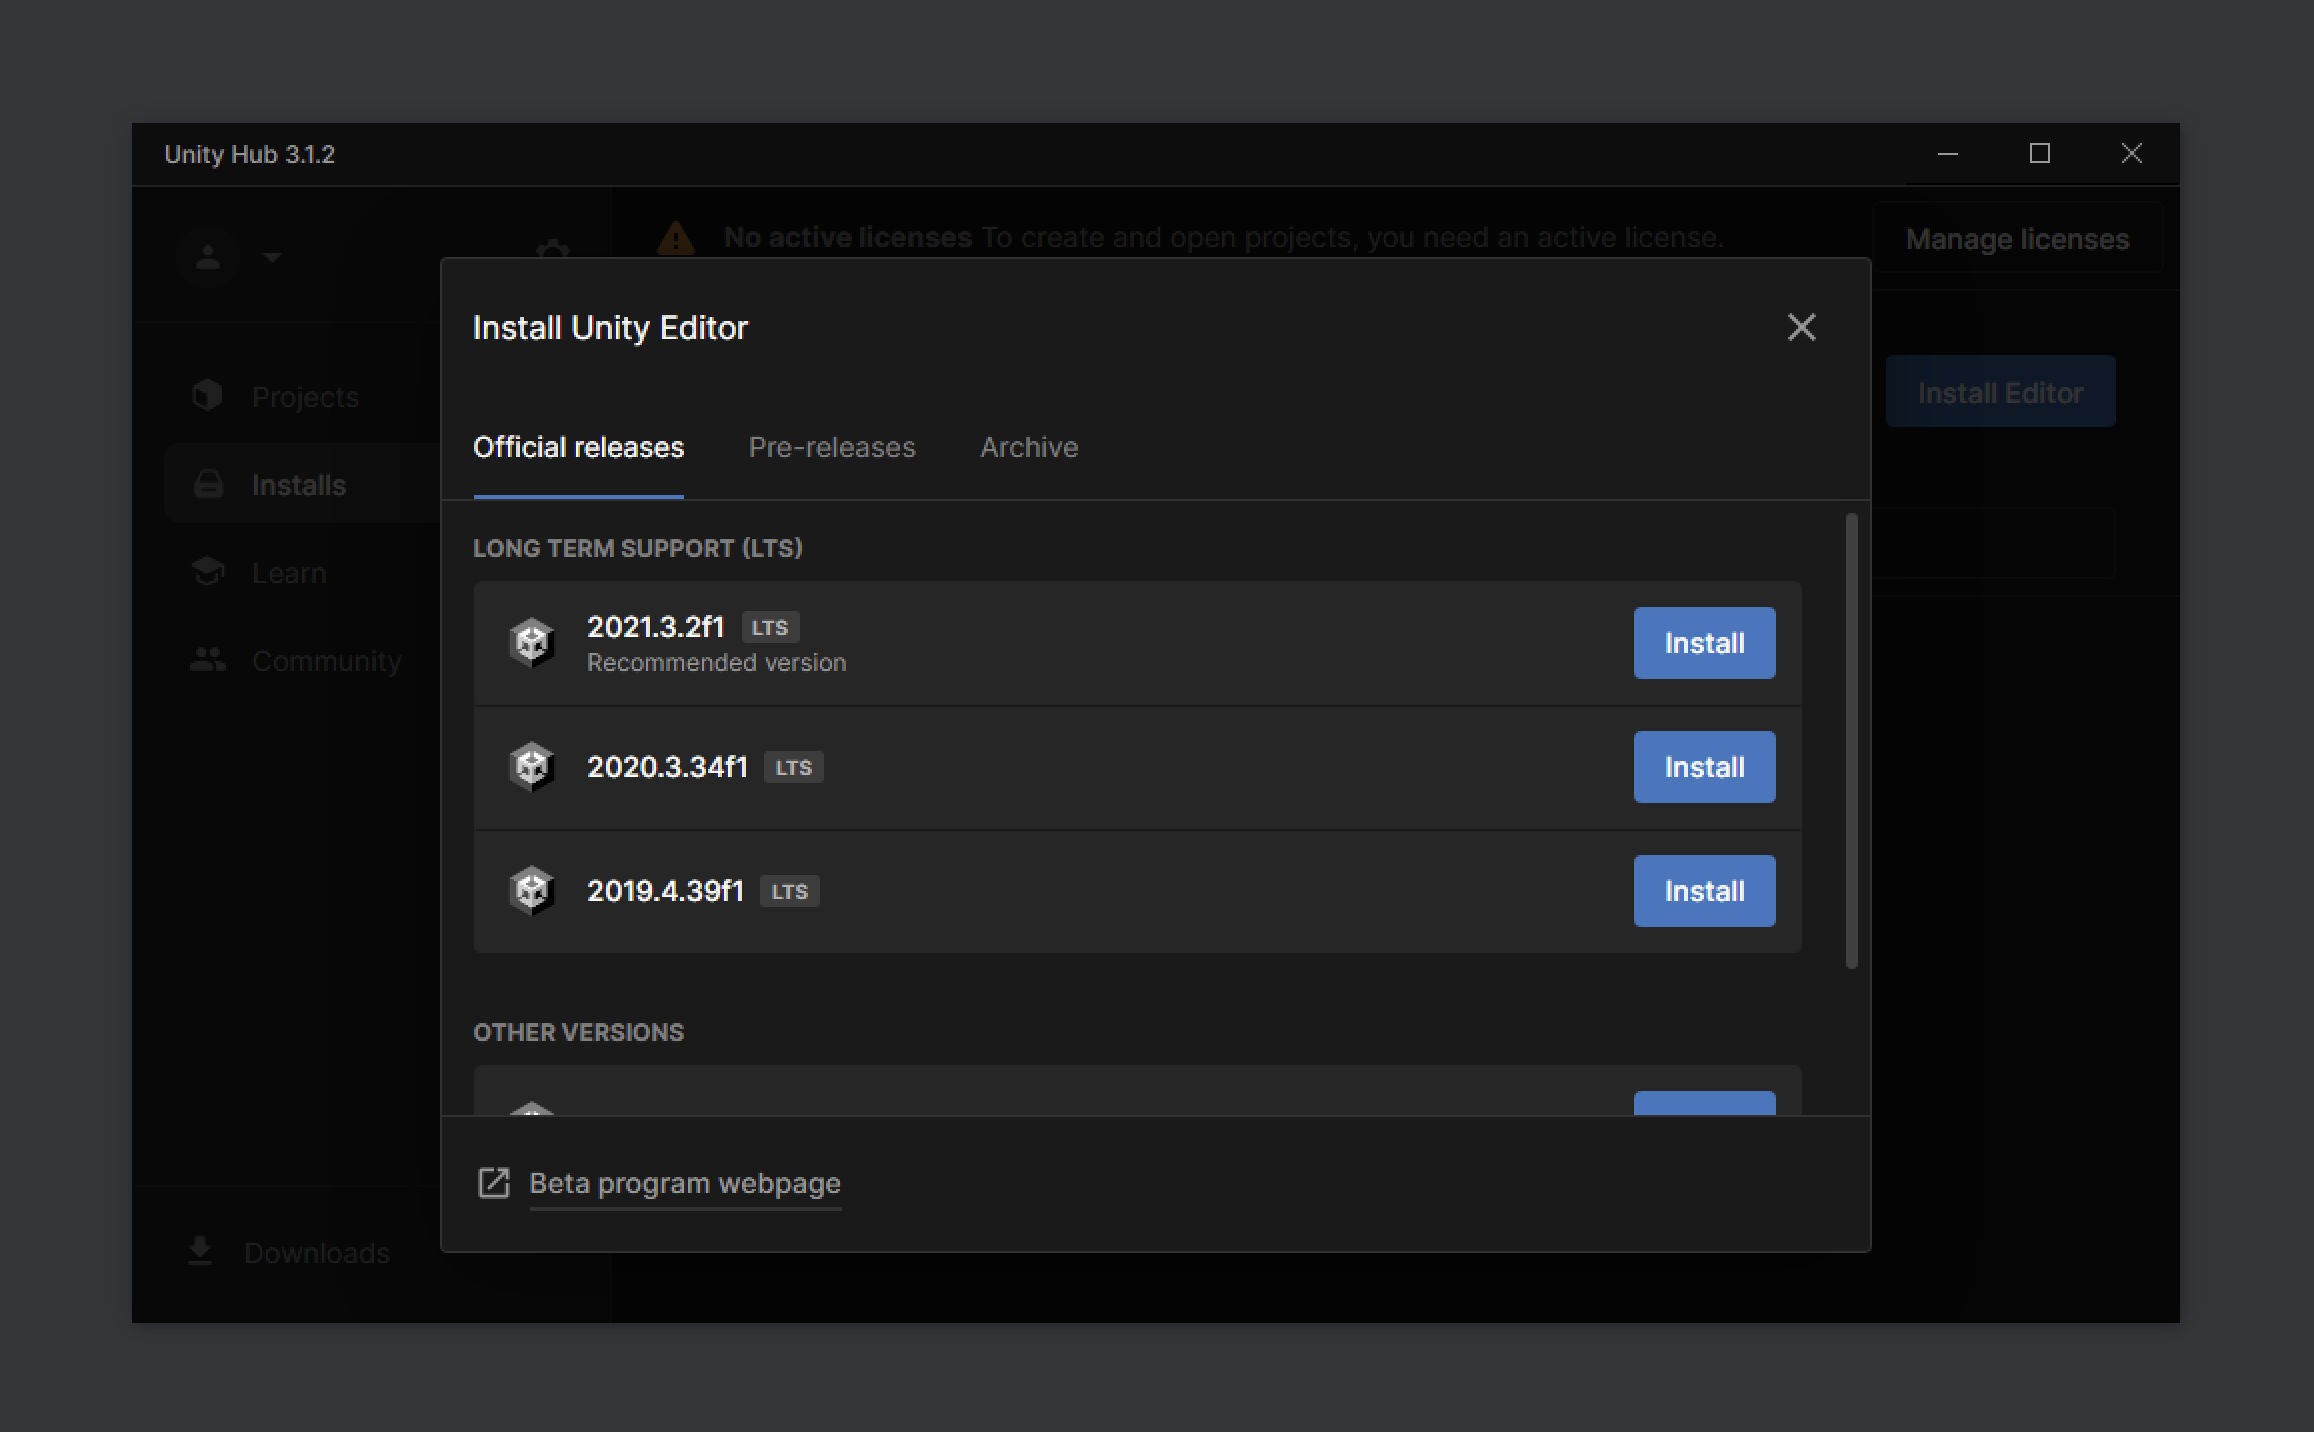
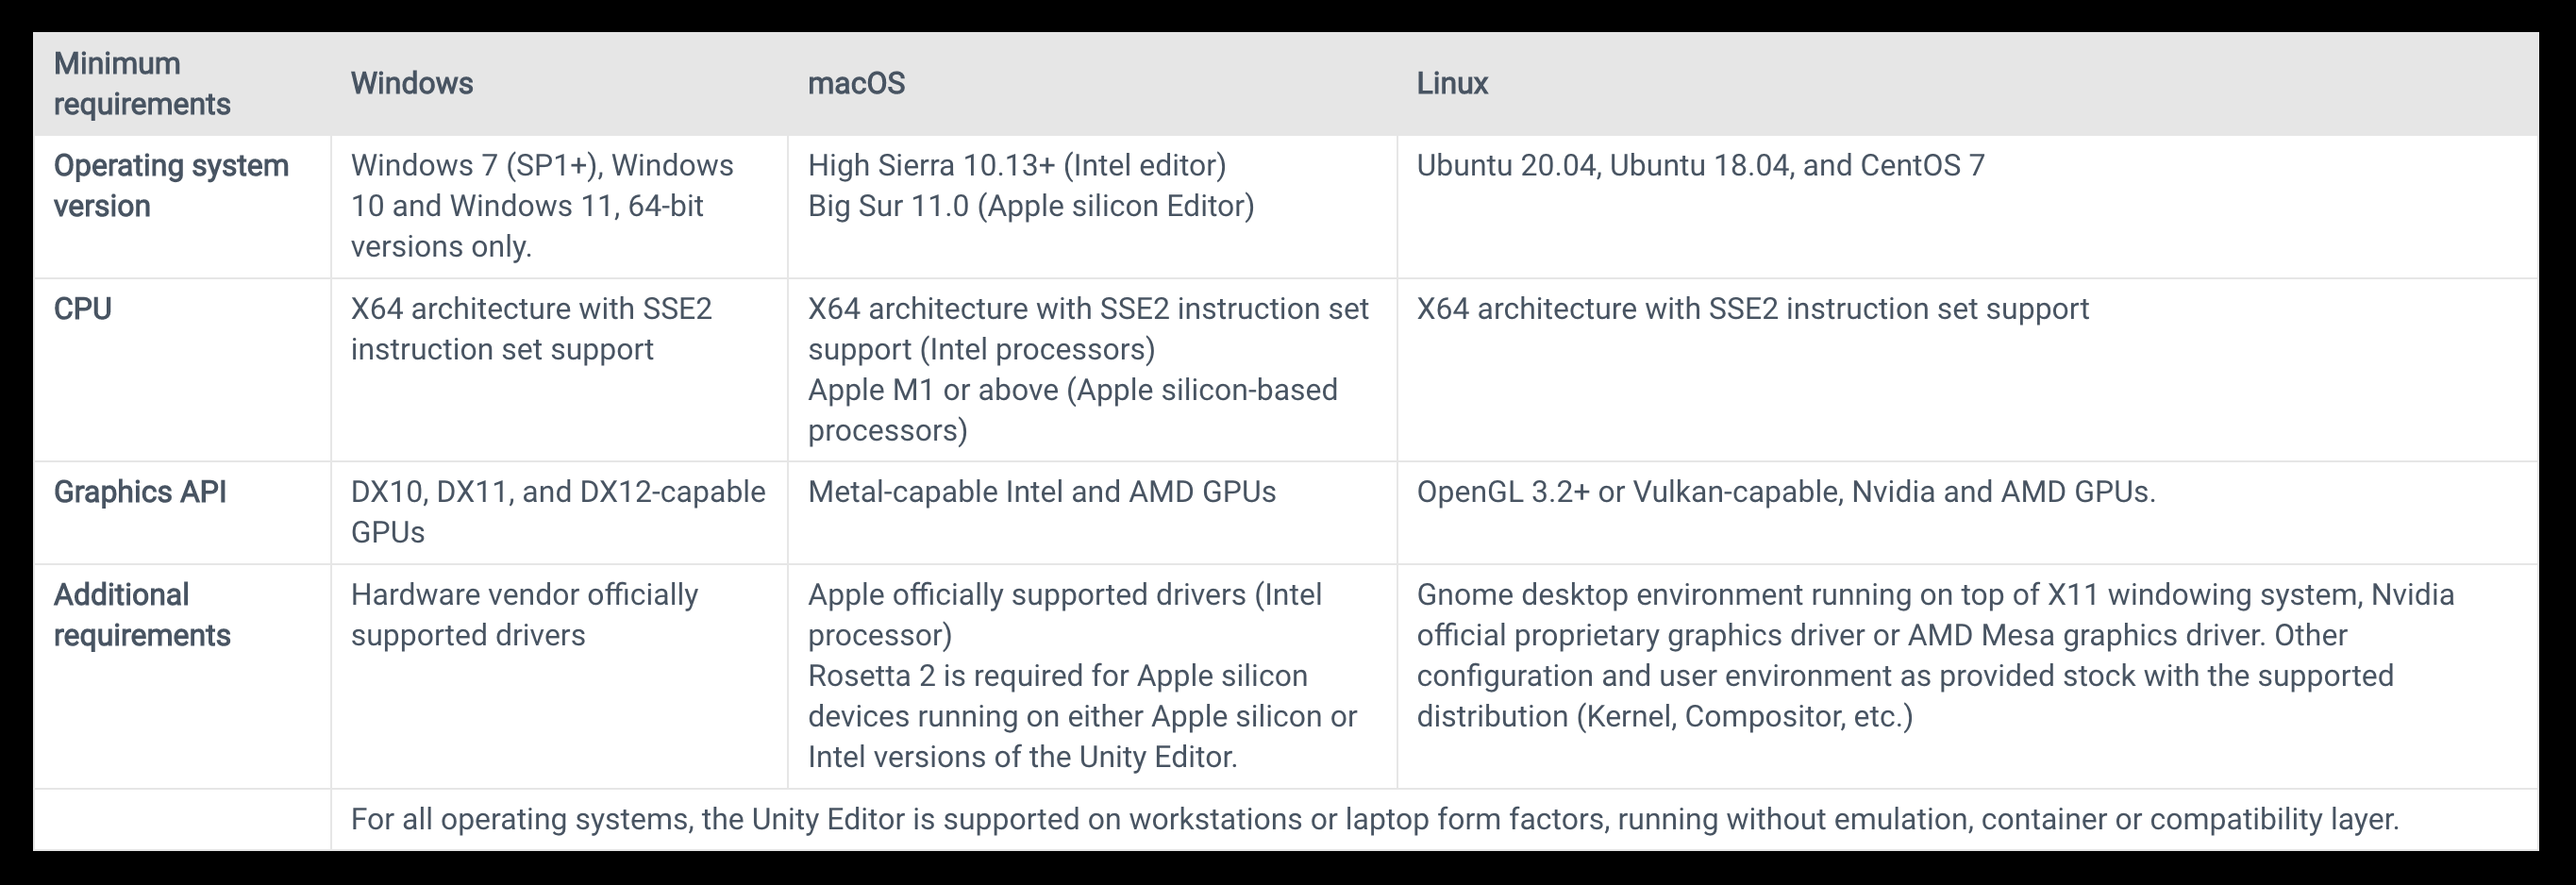
For the purpose of this blog post, we’ll stick to the latest LTS (long-term support) release of the editor, which is 2021.3.2f1 in this case.
Always make sure to check the system requirements of the Unity Editor release that you are using. Following are the minimum system requirements for Unity Editor 2021 LTS release -
If you want to learn more about the various types of Unity releases, you can read about them here.
Once you select a release, you’ll be asked to select the Unity Modules that you want to install along with the editor. You can skip this for now or add specific modules that you require for your project. You can also install modules later, once the installation is complete.
Note: Adding more modules will increase the overall download size of the editor.
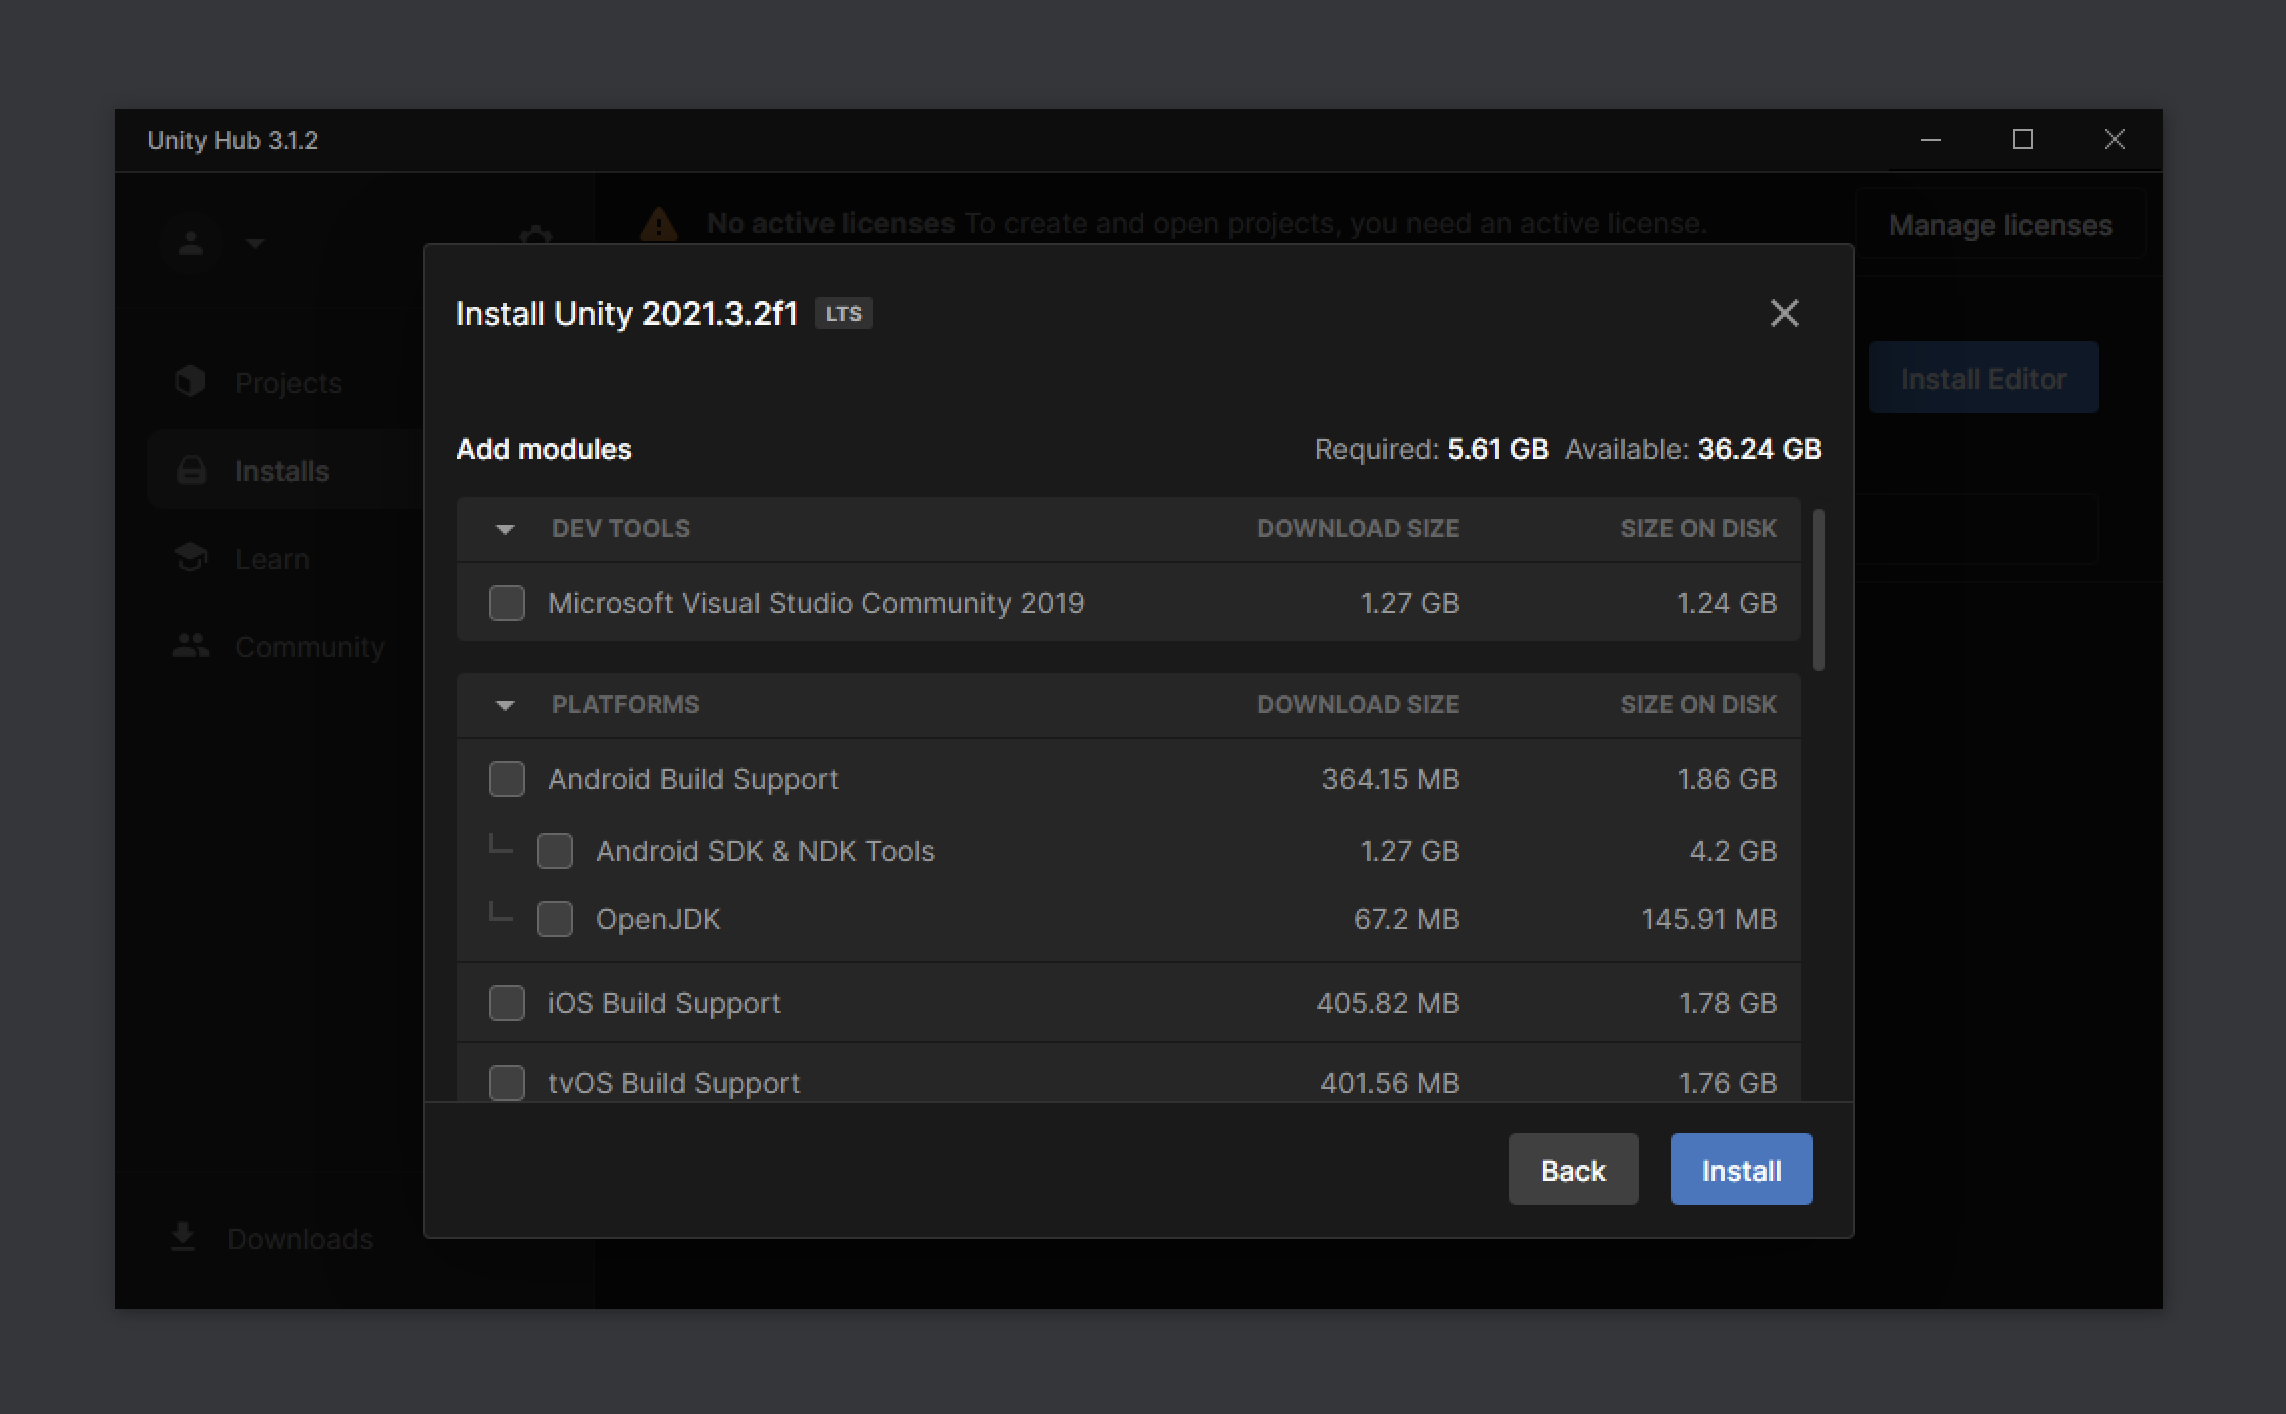
Once the editor and the associated modules have been downloaded, Unity Hub will automatically install them on your system.
Getting a Unity License
Unity provides various types of plans/licenses for different use cases and organization structures.
There are paid licenses available for professional and enterprise users (with added services, technical support and much more). But you probably don’t need that if you’re just starting and want to familiarise yourself with the editor. For this reason, we’ll stick to the Personal Edition License which is free!
If you skipped the license activation step earlier, you can click on Manage licenses to add a new license to Unity Hub. You can also choose any other Unity Plan. If you click on Agree and get personal edition license, a new free license would be issued and will get registered with your Unity ID.
As mentioned earlier you must get a license before using Unity.
Once a license has been added, you can click on the gear icon in the left pane to open Preferences and view your existing license or add new licenses.
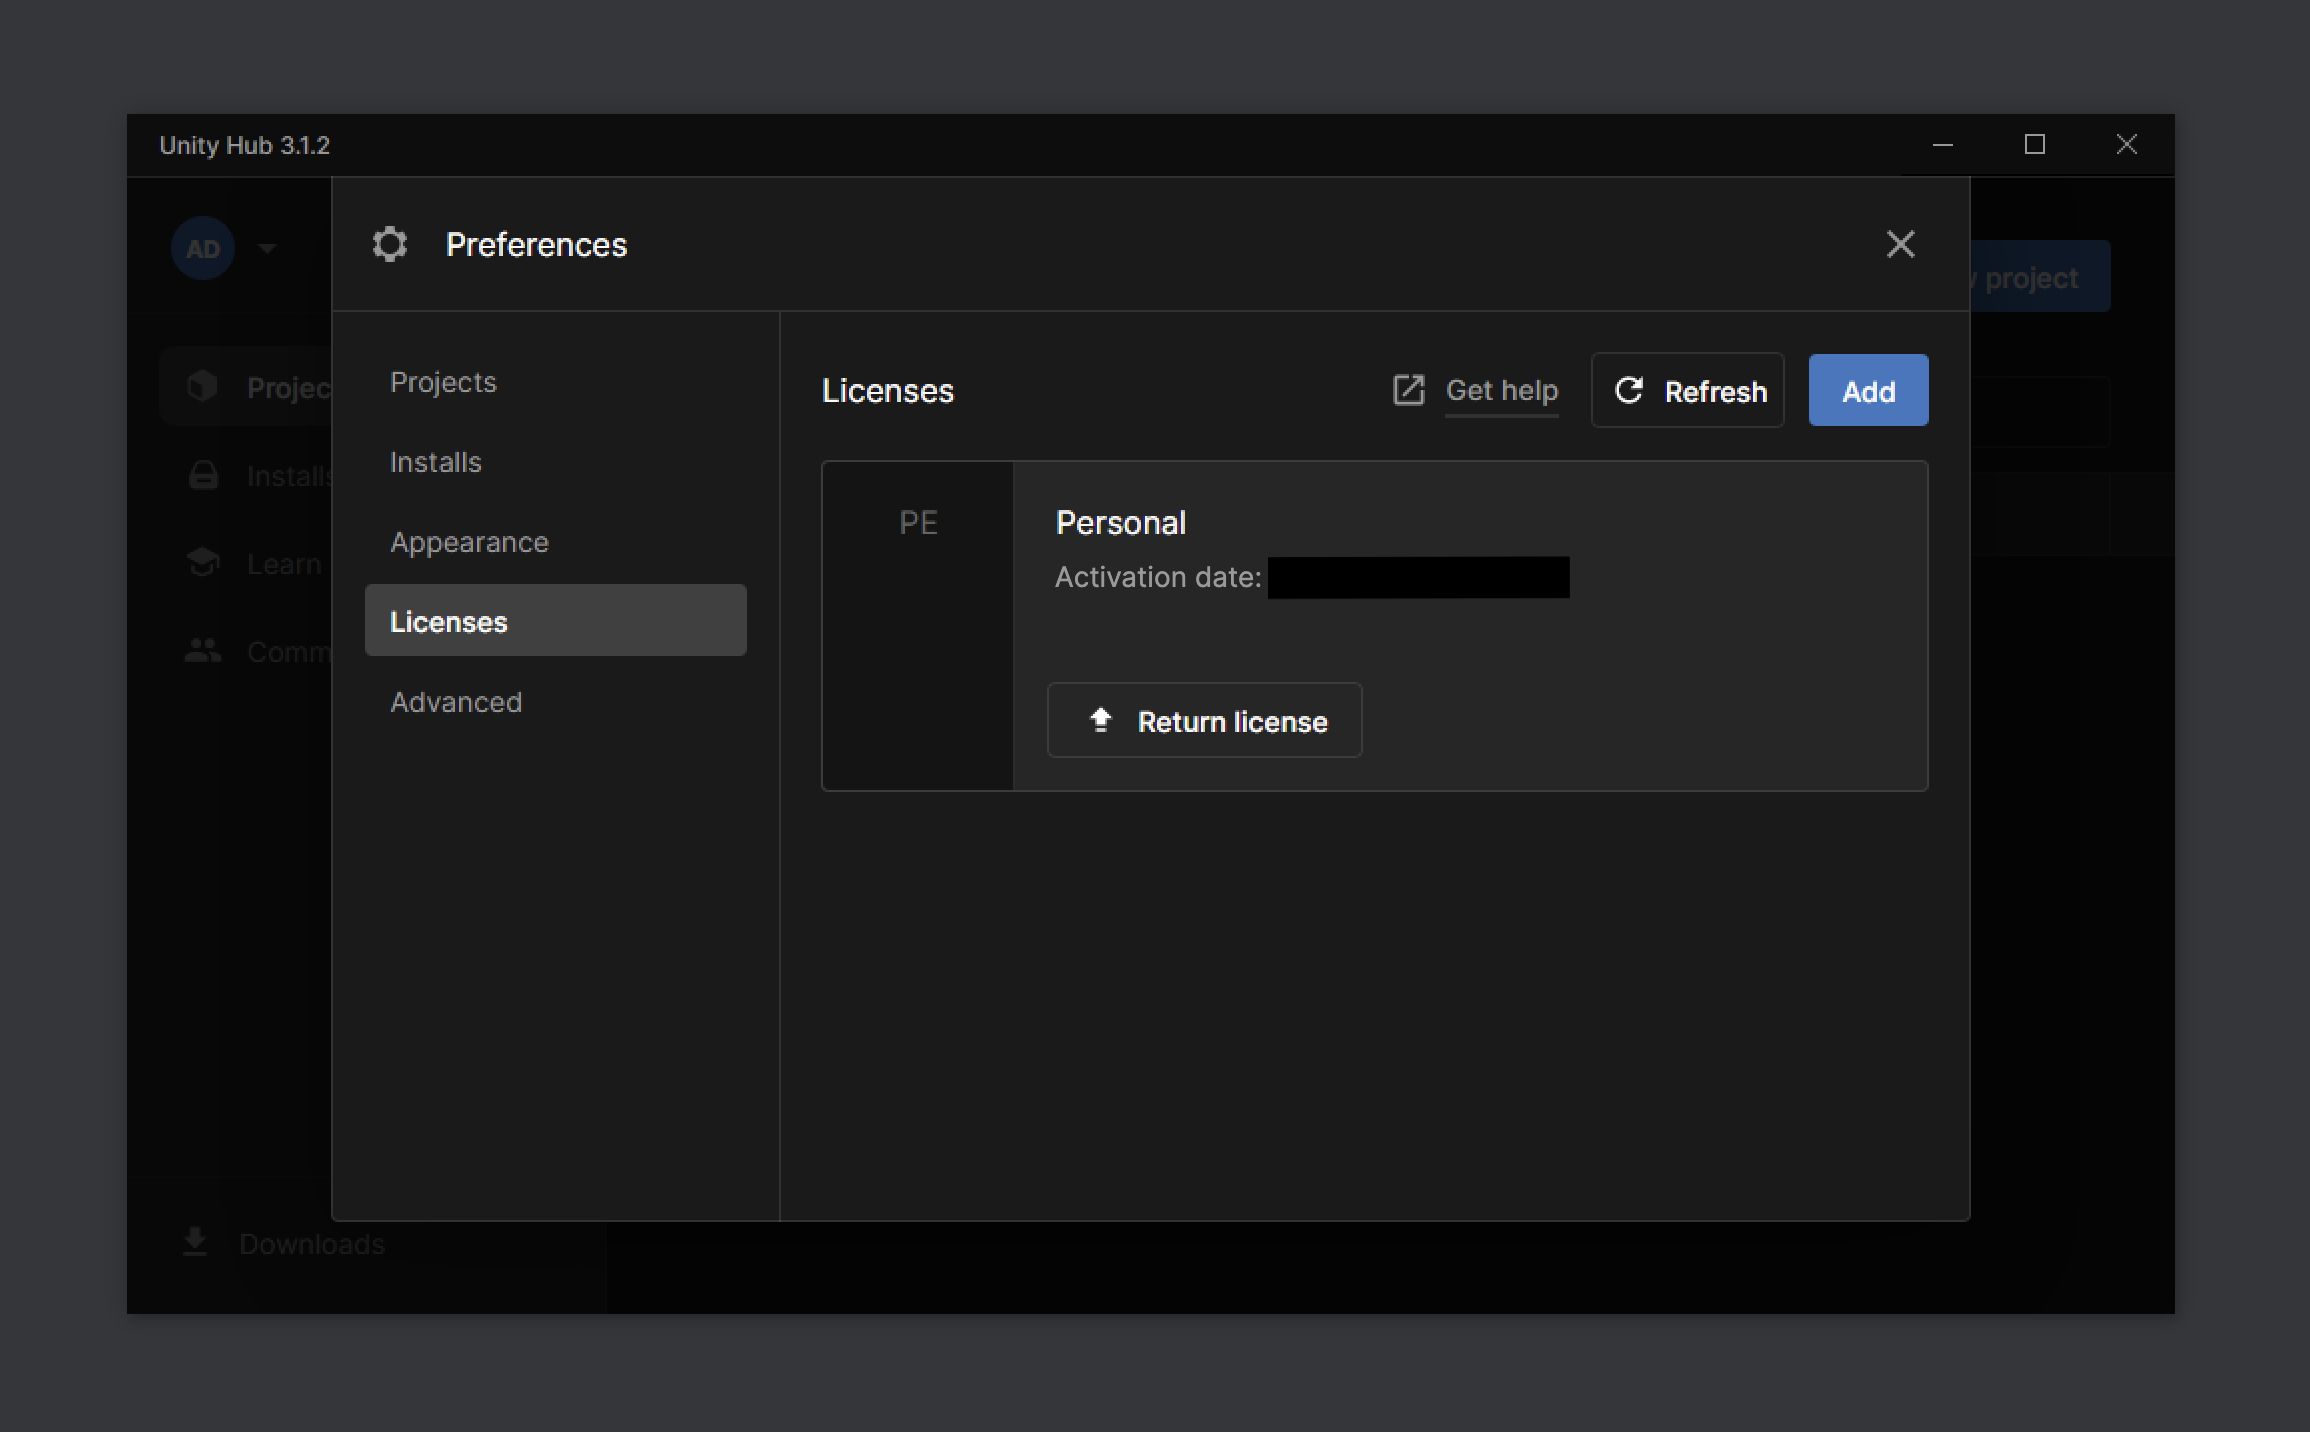
If you want to learn more about the various types of Unity licenses, you can read about them here.
Launching the Unity Editor
With the editor installed and a license registered with your Unity ID, you are ready to start developing your first application in Unity!
Open Unity Hub and click on New project, select a template of your choice and click on Create project. This will create the Unity project in the provided location and will open the Unity Editor. It might take a few minutes to open up the project in the Unity Editor for the first time, which is fine.
More blog posts and tutorials on Unity development can be found here.
If you want to install Unity on a different platform you can check out the following blog posts -
If you have any questions or suggestions, please leave a comment down below. Also if you want to stay up to date with the latest happenings at example.com, feel free to follow me on Twitter.
Cheers!

Arun Michael Dsouza
Lorem ipsum dolor, sit amet consectetur adipisicing elit. Veniam recusandae consequatur necessitatibus modi nostrum ullam.
Related Posts
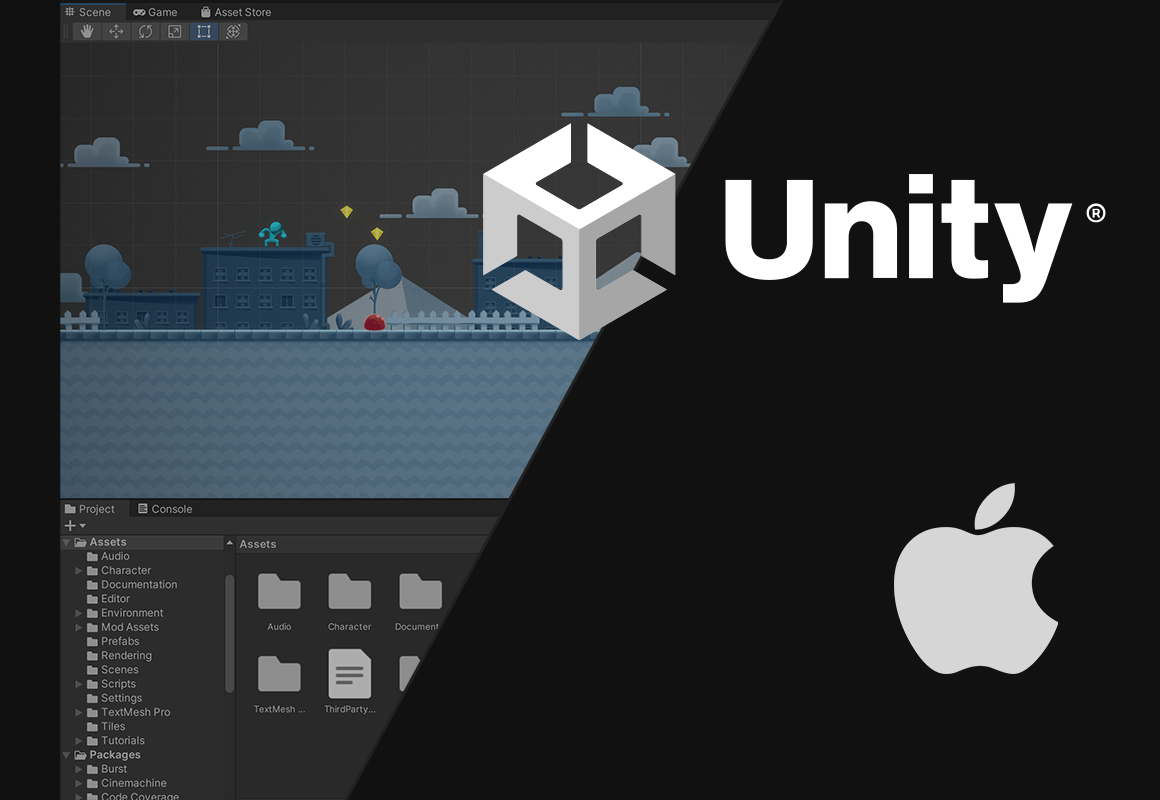
How to Download and Install Unity on Mac
Unity is a real-time 3D development platform that is used to …
Apr 06, 2022
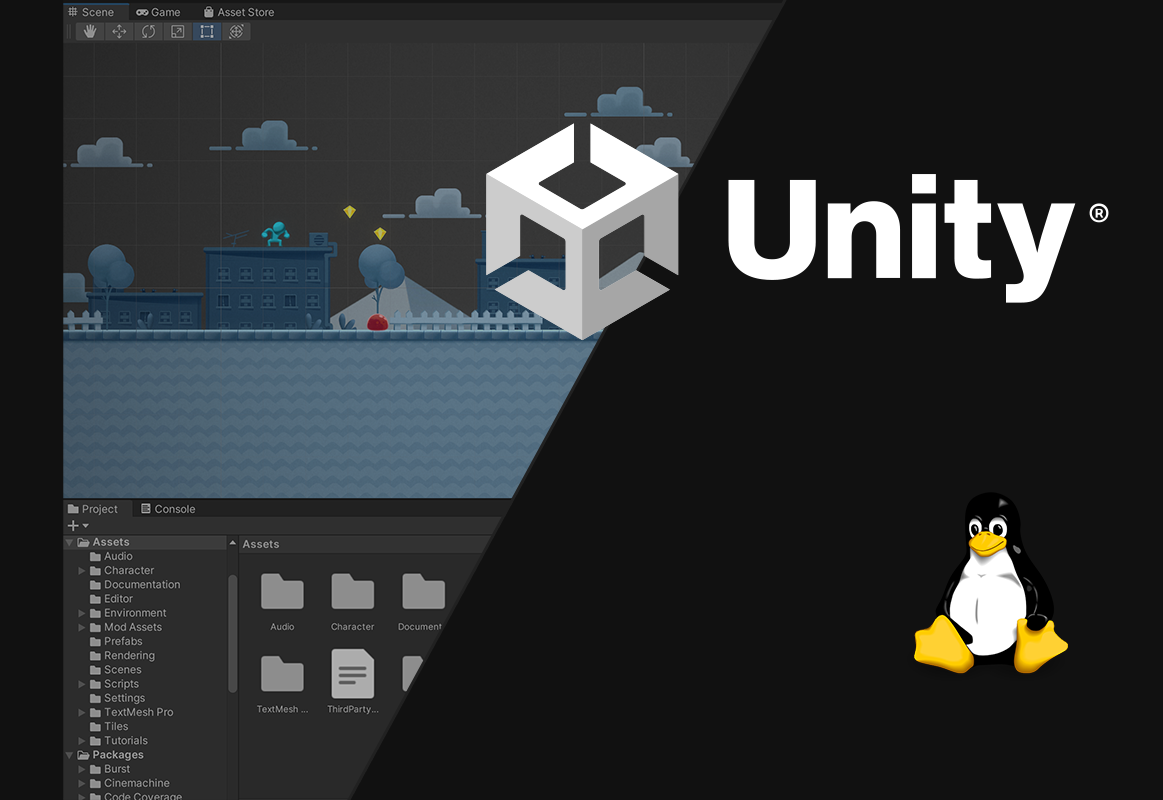
How to Download and Install Unity on Linux
Unity is a real-time 3D development platform that is used to …
Apr 06, 2022
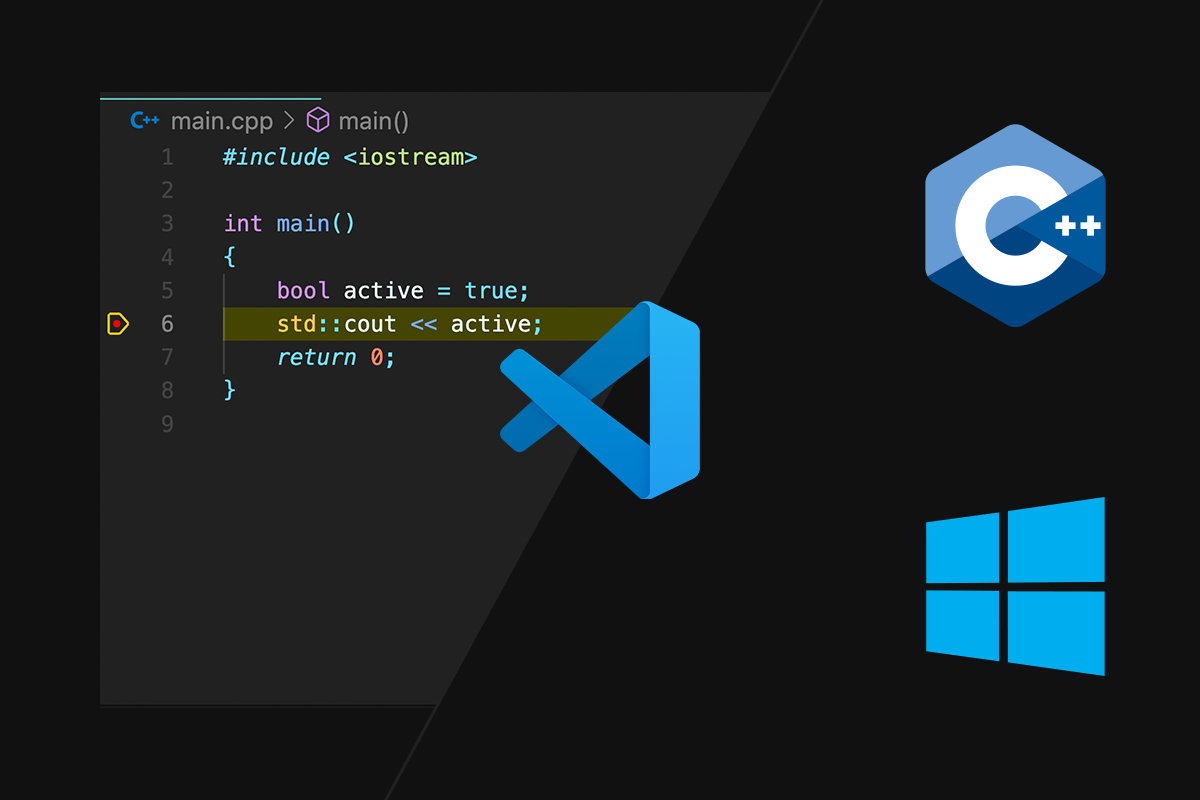
How to Setup VS Code for Debugging C++ on Windows
VS Code has gained a lot of traction over the past few years due …
Mar 06, 2022